The throaty rumble of a Harley Evo engine is a symphony for motorcycle enthusiasts. But even the most iconic engines need regular maintenance, and pushrod adjustment is a crucial part of keeping your Evo running smooth and powerful. While it might seem intimidating at first, understanding the process and following these steps can empower you to handle this task yourself.
Before You Begin
- Disclaimer: This guide is for informational purposes only. It’s crucial to consult your specific Harley Evo model’s service manual for exact procedures and specifications. Attempting adjustments without proper knowledge or tools can damage your engine. If you’re unsure about your ability, seek help from a qualified mechanic.
- Safety First: Ensure your motorcycle is parked on level ground, secured with a stand, and the engine is cool to the touch. Wear safety glasses and gloves when handling tools and fluids.
- Gather the Tools: You’ll need feeler gauges, a torque wrench, a socket wrench set, a dial indicator (optional but highly recommended), and a service manual specific to your Evo model.
Understanding Pushrods and Lifters
Pushrods act as messengers, transmitting camshaft movement to the rocker arms, which then open and close the valves. In Evo engines, hydraulic lifters automatically adjust for minor wear, but proper pushrod length is still crucial for optimal valve timing and performance.
The Adjustment Process
- Locate Top Dead Center (TDC): Refer to your service manual for the specific procedure for your Evo model. This usually involves rotating the engine until specific timing marks on the crankshaft and camshaft align.
- Identify the Cylinder: With the engine at TDC, only one cylinder will have both intake and exhaust valves closed (both pushrods loose). This is the cylinder you’ll adjust.
- Measure Valve Lash: Use feeler gauges between the rocker arm and the valve stem. The correct clearance (lash) is specified in your service manual and typically falls between 0.006″ and 0.010″.
- Adjust the Pushrod: Most Evo models have adjustable pushrods with threaded bodies and locknuts. Loosen the locknut and carefully turn the pushrod body to achieve the desired lash. Use a dial indicator for precise measurement.
- Tighten and Re-check: Tighten the locknut to the specified torque (refer to the service manual). Recheck the lash to ensure it hasn’t changed. Repeat steps 3-5 for the other valve on the same cylinder.
- Move to the Next Cylinder: Rotate the engine one full revolution (360°) and repeat steps 1-5 for each cylinder, following the firing order listed in your manual.
Tips for Success
- Take your time: Rushing can lead to inaccurate adjustments and potential damage.
- Use the right tools: Feelers gauges and a torque wrench are essential for precise measurements.
- Mark your progress: Note down the initial lash and final adjustments for each valve.
- Double-check everything: Before starting the engine, re-check all lash measurements and ensure all locknuts are tightened.
- Start the engine and listen: Pay attention to any unusual noises or changes in engine performance. If something sounds off, stop the engine and consult a mechanic.
Additional Considerations
- Adjustable vs. Non-Adjustable: Some Evo models have non-adjustable pushrods. In such cases, replacing the pushrods with the correct length might be necessary.
- Performance Upgrades: If you’ve modified your engine with performance cams or components, consult a professional for proper pushrod selection and adjustment.
- Seek Help When Needed: Don’t hesitate to seek professional help if you encounter any difficulties or feel unsure about any part of the process.
The Reward of a Well-Tuned Evo
By taking the time to properly adjust your Harley Evo’s pushrods, you’ll ensure optimal engine performance, improved fuel efficiency, and reduced wear and tear. The satisfying rumble and smooth power delivery will be a testament to your dedication to maintaining your iconic machine. Remember, knowledge, caution, and the right tools are your keys to mastering this essential maintenance task and keeping your Evo running strong for years to come.
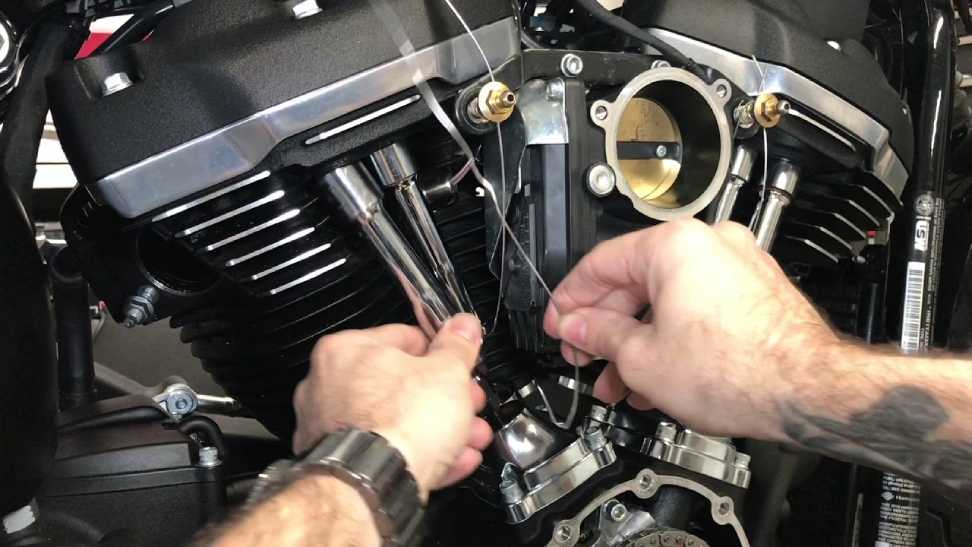
Feature image source:- http://tinyurl.com/yc7bmday